


A quick guide to calibrating studio monitors. Equalizing volume with an SPL meter app and finding the triangular sweet spot.
All studio monitors need to be balanced and setup properly before you begin using them. Use the free NIOSH SLM app to read the dB of each speaker to ensure they are both putting out the same level of volume. Speaker position is important as well. For the best stereo image, create a triangle betweeen the two speakers and your listening position.
NIOSH Sound Level Meter App by EA LAB: https://apps.apple.com/us/app/niosh-sound-level-meter/id1096545820
A helpful step-by-step article that includes a sample of pink noise: https://music.tutsplus.com/tutorials/how-to-calibrate-studio-monitors--cms-31703
Transcript
No matter what studio monitor you end up buying—you must properly calibrate them. I’m Sean SW Hammond and in this video I’ll help you find the sweet spot and equalize the volume for an amazing soundstage.
As you’ve noticed, monitors are sold individually. They’re typically not “sets” and they’re certainly not manufactured that way. Monitors are self contained units—they have drivers, tweeters, crossovers, amplifiers, power supply, and any features all contained internally. Think of each speaker as its own system, and when pairing monitors together to create a stereo image, they must be calibrated to work together correctly. They don’t come from the store this way.
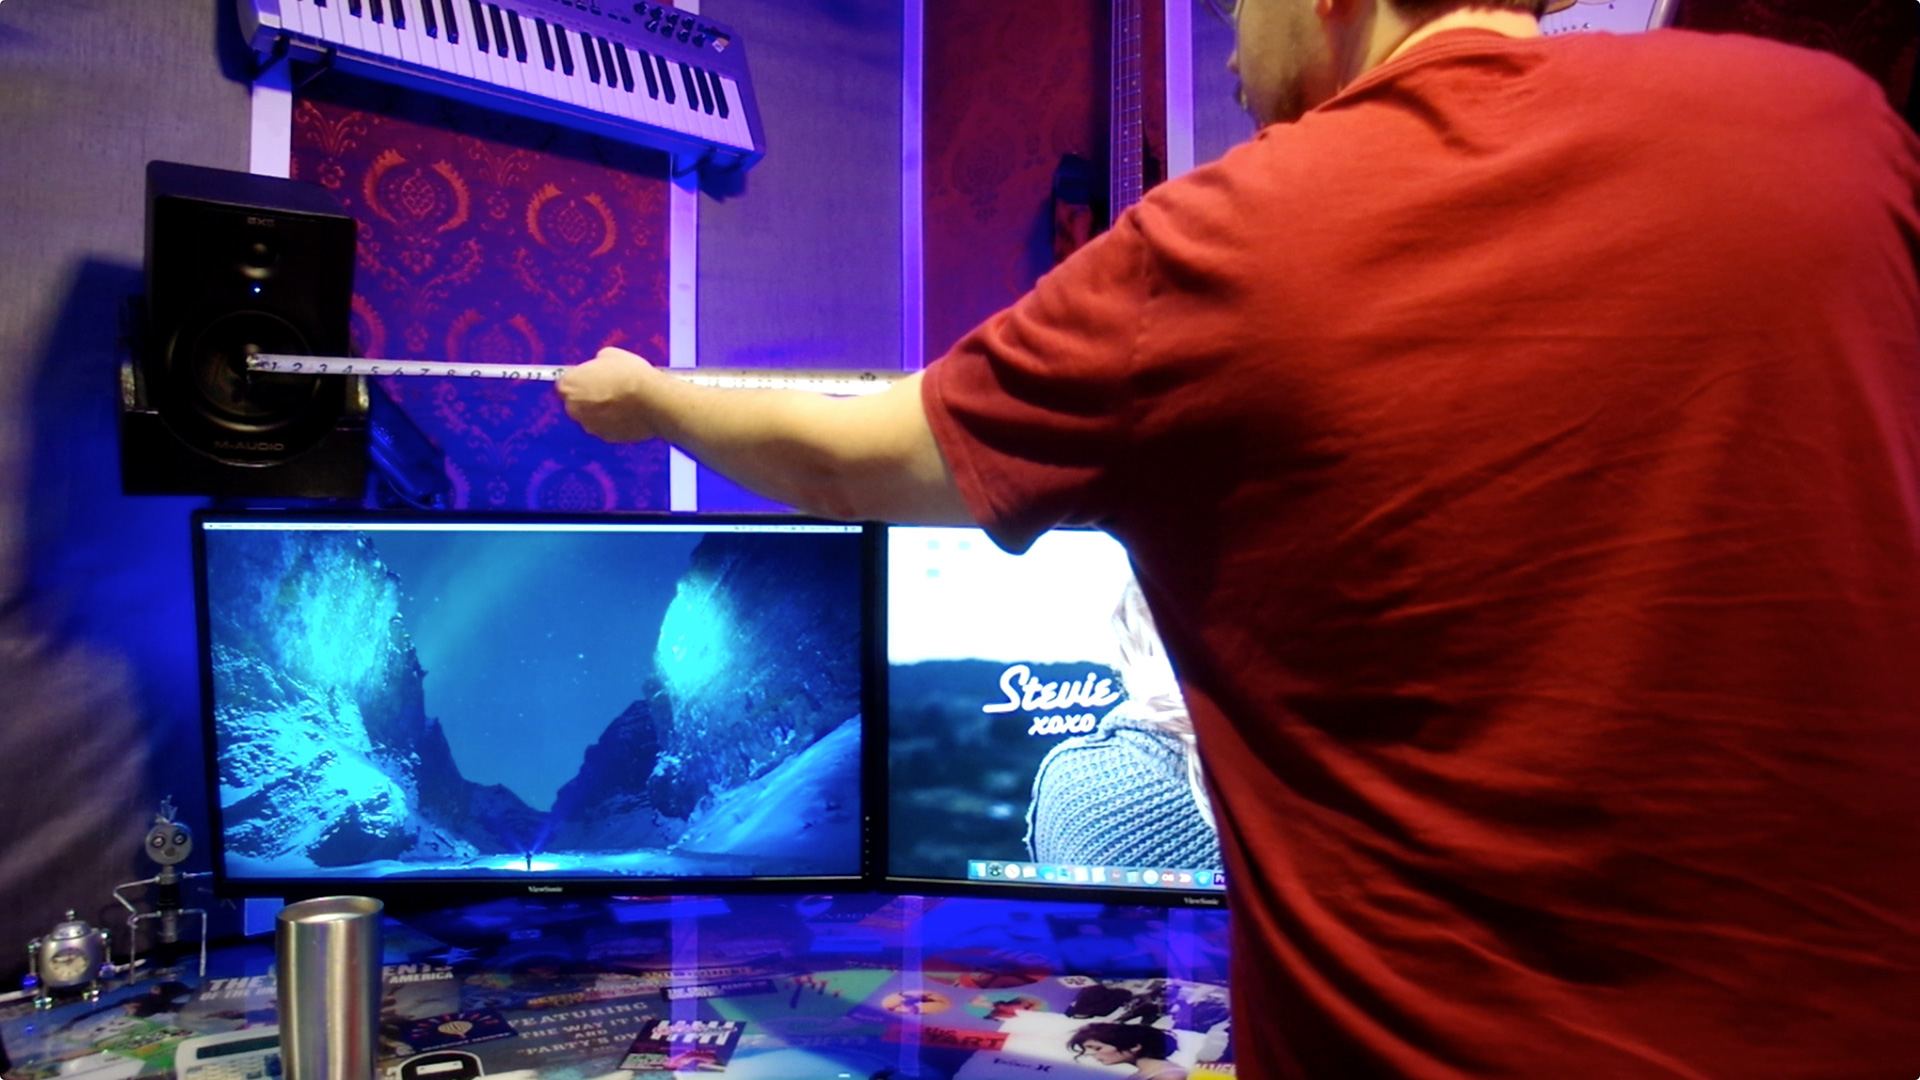
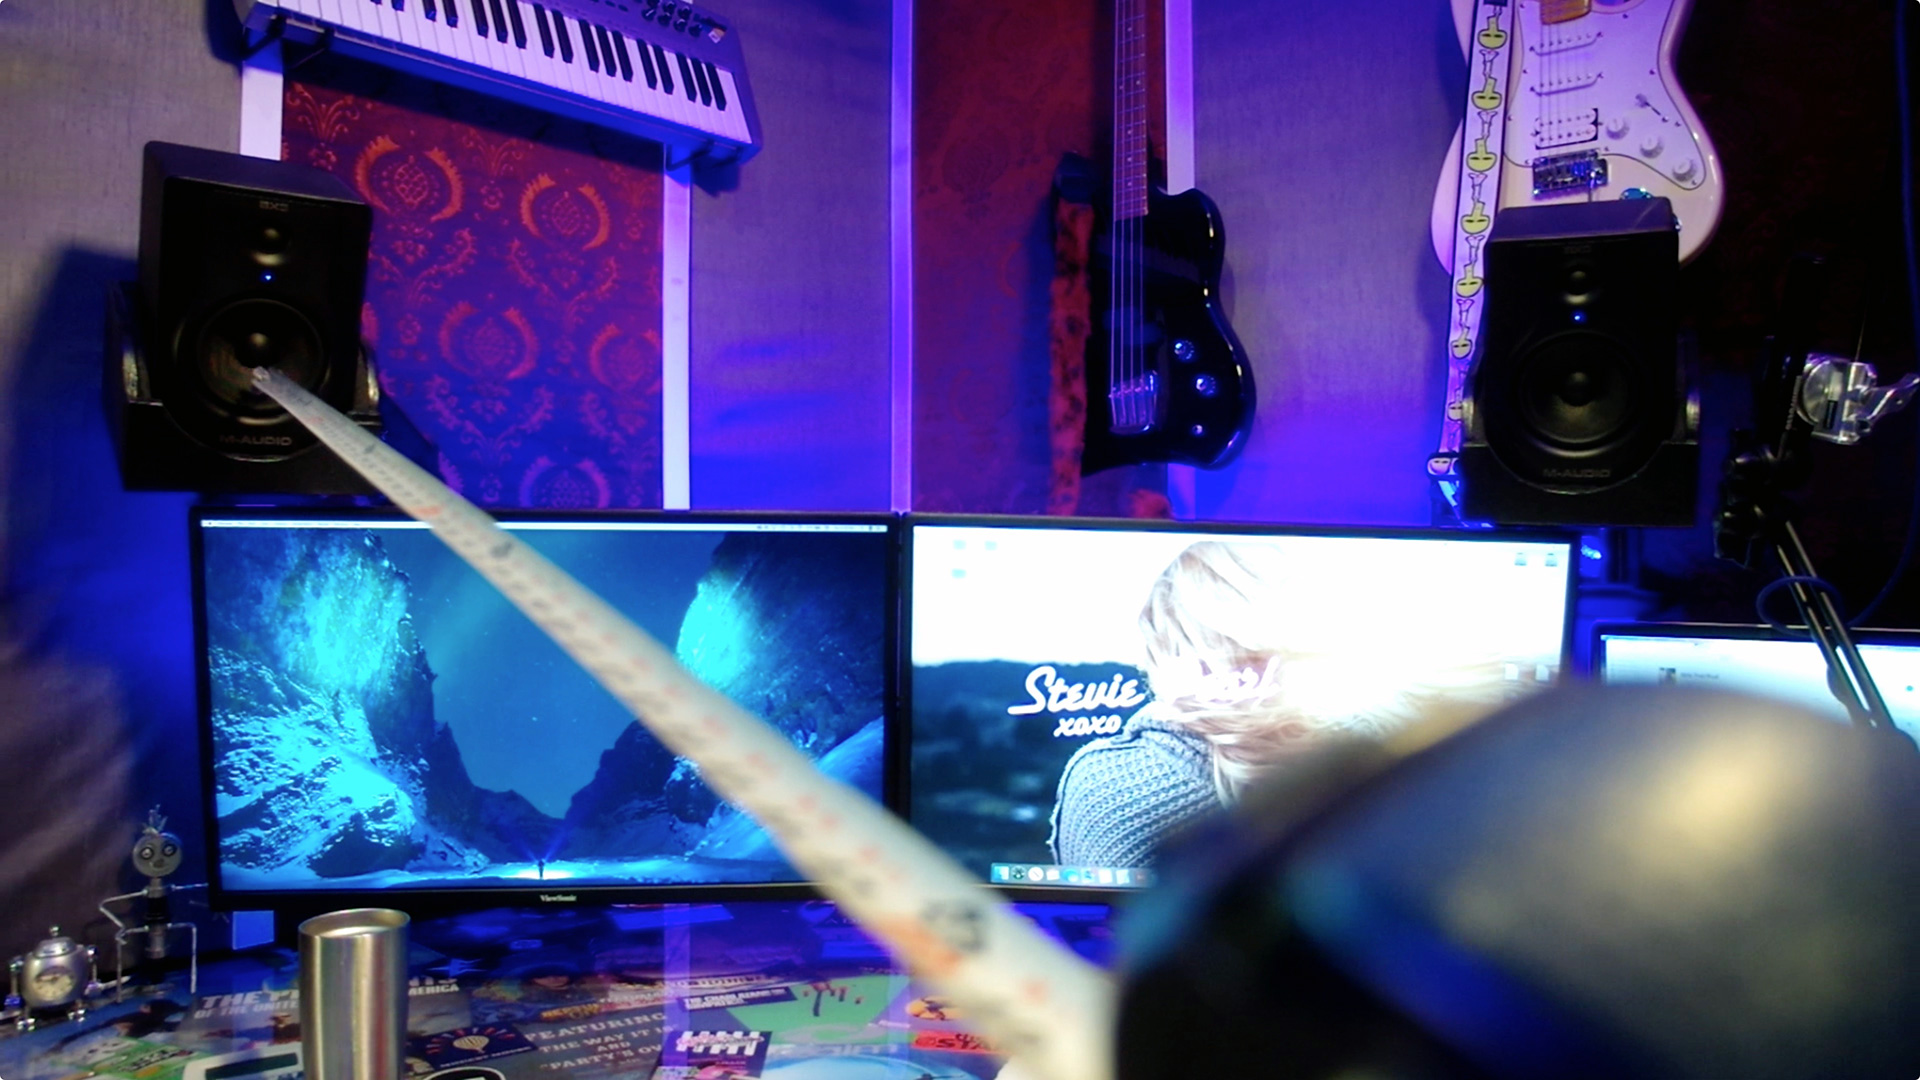
First off, find the sweet spot of your listening position. This is done by creating a triangle between the two speakers and your head. Get a tape measure and measure the distance between the two speakers—remember that number. Your head should be in the center of those two speakers plus the distance of the number you just remembered so that you create a triangle.
Okay, so now that you have a triangle, what you need to do is set the volume of each speaker so that they are equal. The numbers on back by the volume knob are useless, don’t go by those. To do this, you need an SPL meter—thankfully there’s a free app for your phone that will do the trick. Super technical people in crazy precise listening environments may want to purchase a professional dedicated SPL meter, but for those of us in the real world—this free app from the CDC will do just fine.
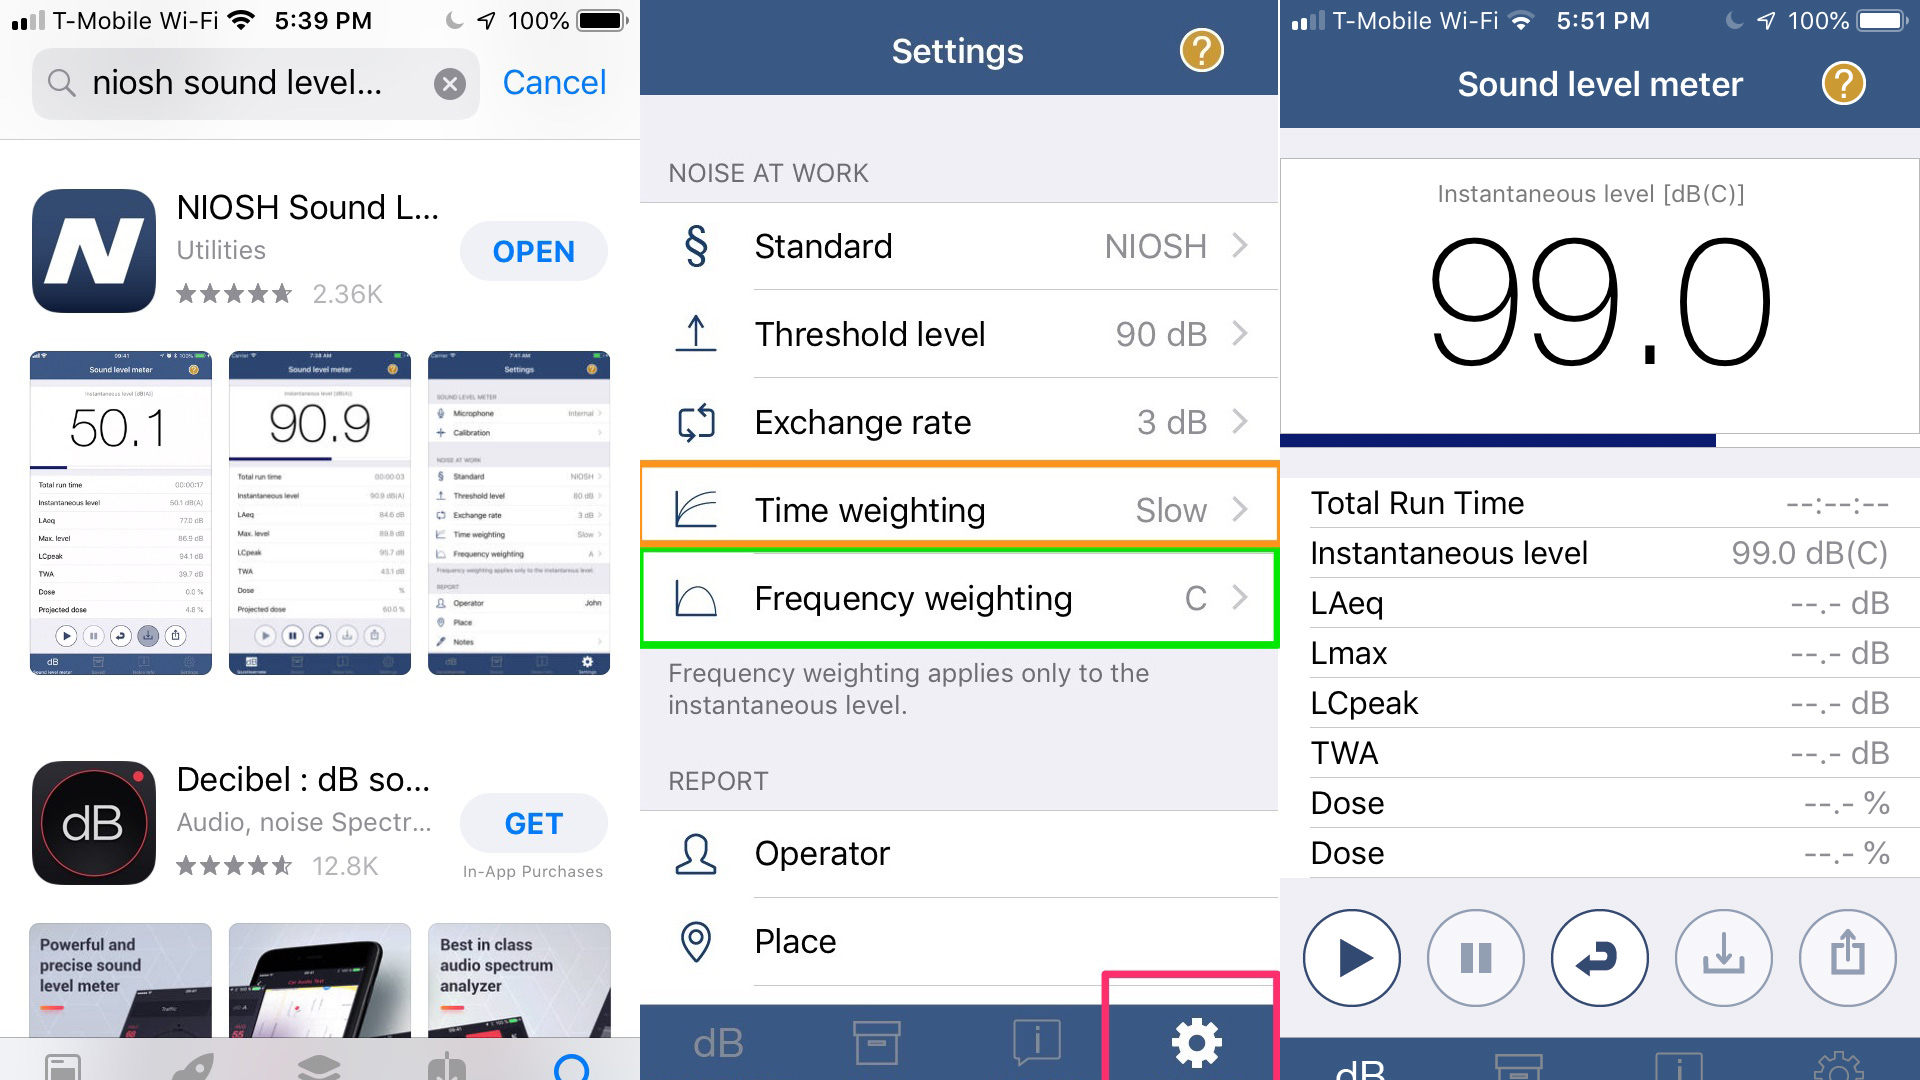
I’ll include a link down below, but the free app is called NIOSH SLM, or National Institute for Occupational Safety and Health, Sound Level Meter. The Center for Disease Control administers the NIOSH and they created this app to measure sound levels at job sites and whatnot—to know if you should be wearing ear protection. You’re going to be taking a decibel reading of each speaker individually and fine tuning them so that they match. There will also be another link below to a helpful step-by-step article that includes a sample of pink noise.
There’s some settings in your app that you’ll want to check: make sure that you have “Frequency Weighting” set to “C” and that “Time Weighting” is set to “Slow”.
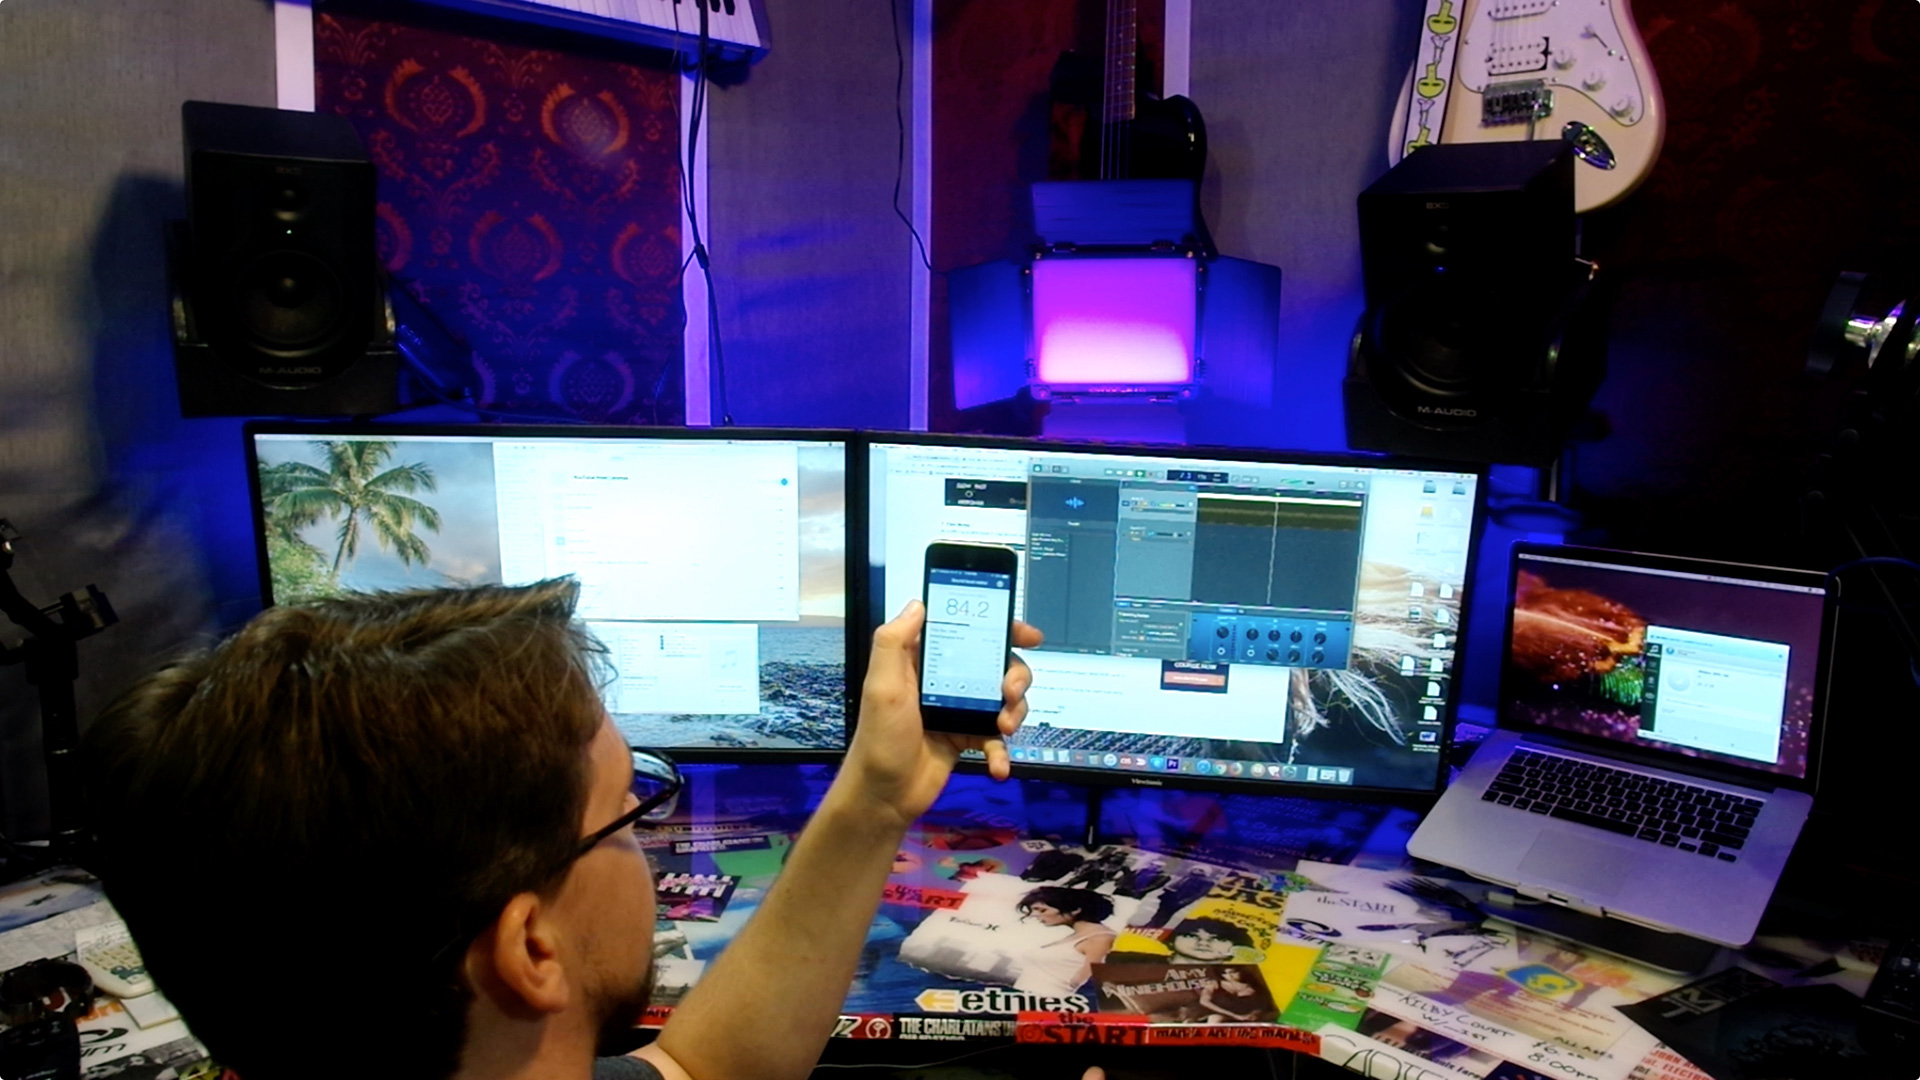
Depending upon your room size, your monitors should be set between 75 and 85 decibels. This can be fairy loud and this will be on the upper end of any volumes you’ll typically be listening at. Find the sweet spot of your listening position and hold the microphone of your phone so that it’s in front of your face, by your nose—this is where you’ll take the reading.
Start by completely lowering the volume on both of your monitors, zero your audio interface, disconnect the right speaker so that only the left speaker is playing pink noise. Slowly raise the volume until you reach the desired level according to app on your phone—somewhere between 75 and 85 dB. Once you find that spot—remember you dB number. Unplug the speaker that way just playing the pink noise, this will cut the signal, and now reconnect the other speaker. Again, play the pink noise and raise and adjust the volume of the speaker so that the decibels match the setting of the previous speaker—you want them to be within a half of a decibel of each other.
There you go—that’s it! Your studio monitors are now properly calibrated and you should have an even sound imaging and a fantastic soundstage.


