


As long as you have time and patience, this is a pretty easy and affordable DIY acoustic treatment project for your recording studio.
Skyline diffusers improve recording and listening environments by diffusing, or scattering, specific frequencies of sound waves when reflecting off of surfaces. Instead of sound hitting a flat wall and reflecting directly back at you, a diffuser disperses the reflection of the sound wave and interrupts it from being directly reflected back at you. This still allows for brightness within your studio while limiting problematic reverb.
Equipment Used:
- Compound Miter Saw
- Belt Sander
- Titebond III Glue
- Tape Measure & Straight Edge
- Various Clamps
- 2"x2"x96" Lumber for Blocks
- 3/4"x4'x8' Plywood
- Spray Paint
- Screws & Lag Bolts
Transcript
Considering building a two-dimensional “skyline” sound diffusor? It’s not hard, but it does take quite a bit of time. The finished product is impressive–it looks good, and gives your audio a more natural sound by diffusing harsh and problematic frequencies amplified by your room. In this video I will show you how I built mine and hopefully give you some ideas on how you can build yours.
First you need to start out with a frequency calculator. You need to determine the range of frequencies you’re trying to diffuse. In my case, I’m focusing on the frequencies created by the human voice for spoken word and I’m tuning my panels to 846 - 4514 Hz. This a little high, but my studio is sound treated with plenty of absorption, my goal is to diffuse brighter frequencies and absorb lower frequencies. Also, logistically speaking, tuning to this frequency made the project much easier to build. At this frequency, the plan calls for the columns, or blocks, to be 1.5 inches in diameter. Dimensional 2” x 2” lumber is actually cut at 1.5” x 1.5”, so this means all of my blocks would be sized properly from the start and I’d only need to cut them to length. And there is a lot of cutting.
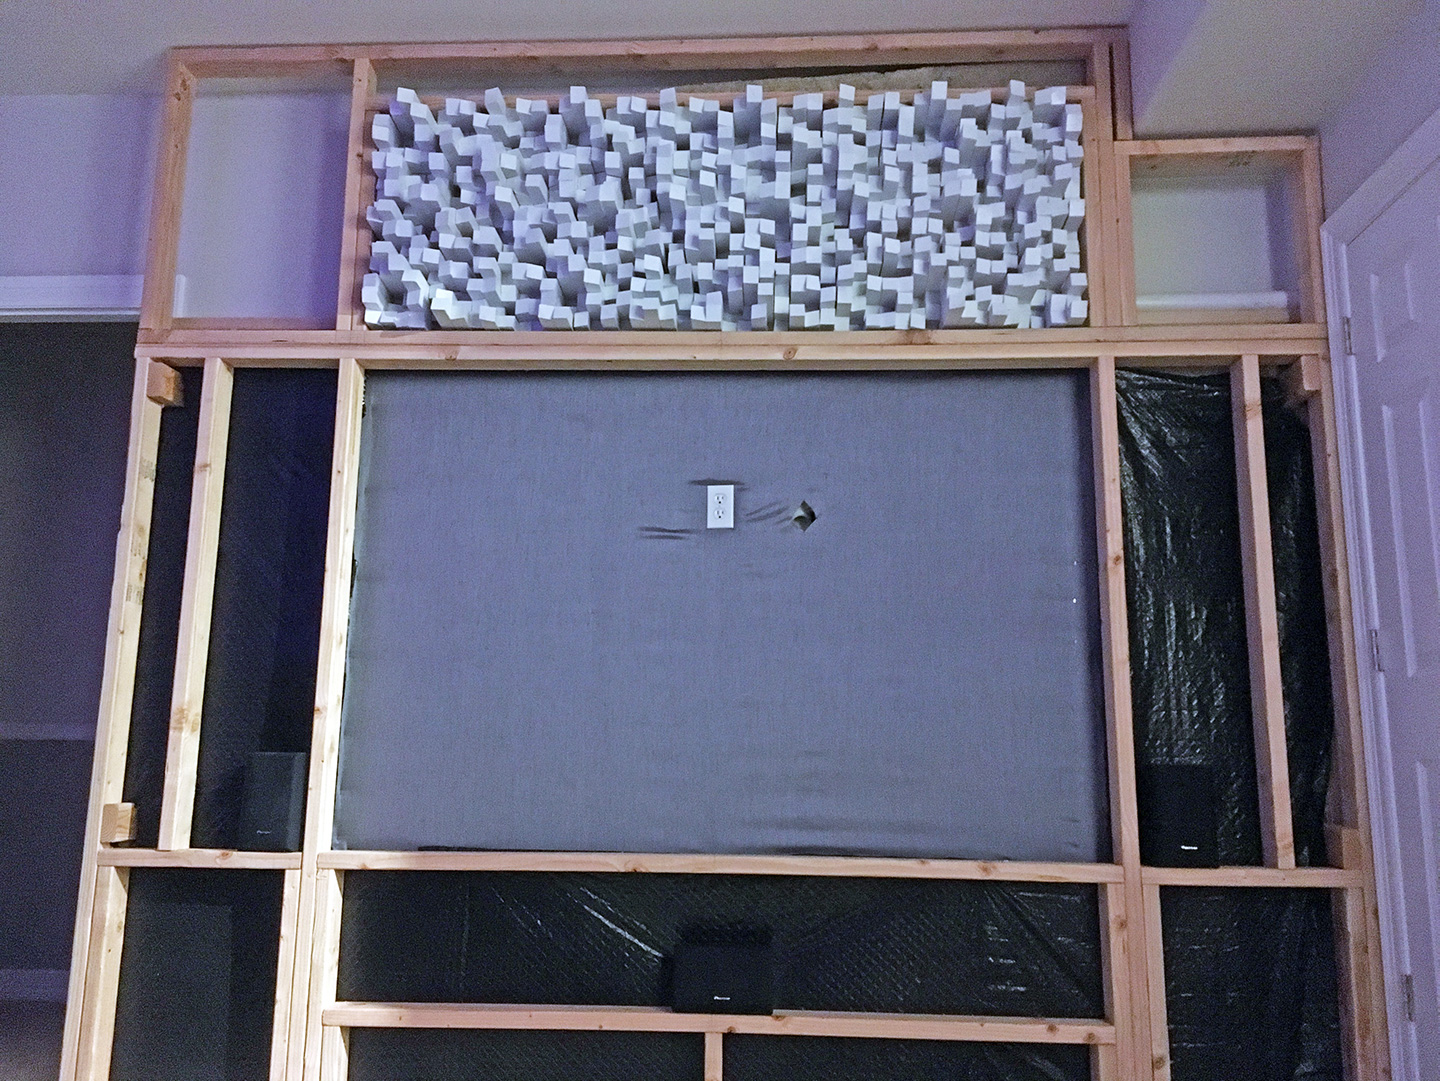
The diffusion panel on the back wall is 2 feet tall and 6 feet long. The panel in the ceiling sound cloud is 4’’ x 4’ square. I also had enough additional material left over and created a smaller 18” x 24” panel that I attached to the sound cloud.
I began by cutting my backing plywood to size, leaving a 1.5” boarder on all edges for mounting. I also recommend using a minimum of .5” thick plywood, I used .75”, as the panel will want to curl into a “U” shape as the glue dries. If you’re able, clamp your plywood to your work table–this will also help preventing curling as the project dries. Remember, these things are going to very big and very heavy when they are complete, thin .25” plywood probably won’t hold up with panels of this side.
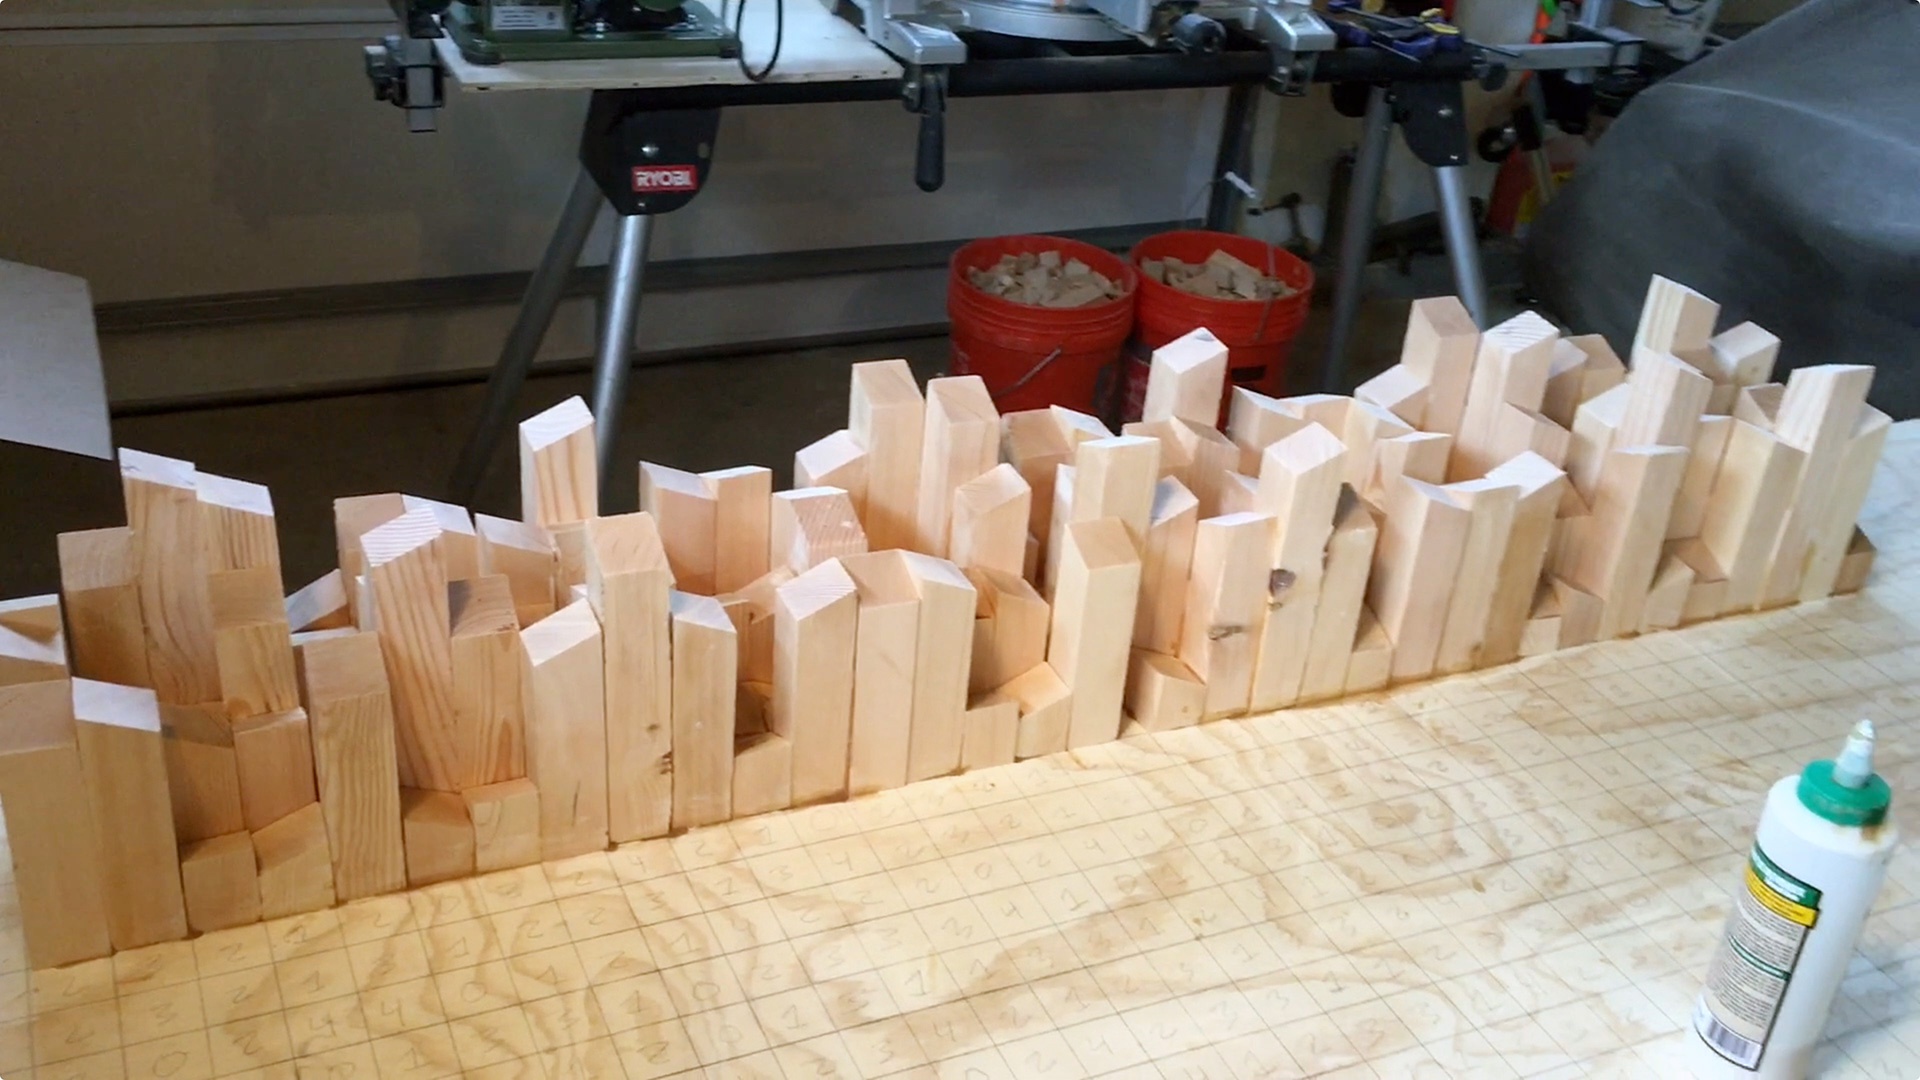
Next is laying out your plan grid onto the plywood–tedious and time consuming is the name of this project. This step may not be necessary if you’re able to follow your plan visually and remember where you’re at–however, there’s a lot of numbers and a lot blocks, getting lost is easy.
I learned quickly that once I began gluing, my layout became out of sync and was mostly used as reference to keep my place. Mass-produced dimensional lumber isn’t cut “exactly” the same each time, and organic materials tend to have a lot of natural variation. If one of your blocks is a little larger or smaller than the square you have drawn, a domino effect occurs and a cascade of alignment issues arise. I just stayed consistent with the plan–whichever block was called for next is the block that was placed, regardless of how “square” it aligned with the previous blocks.
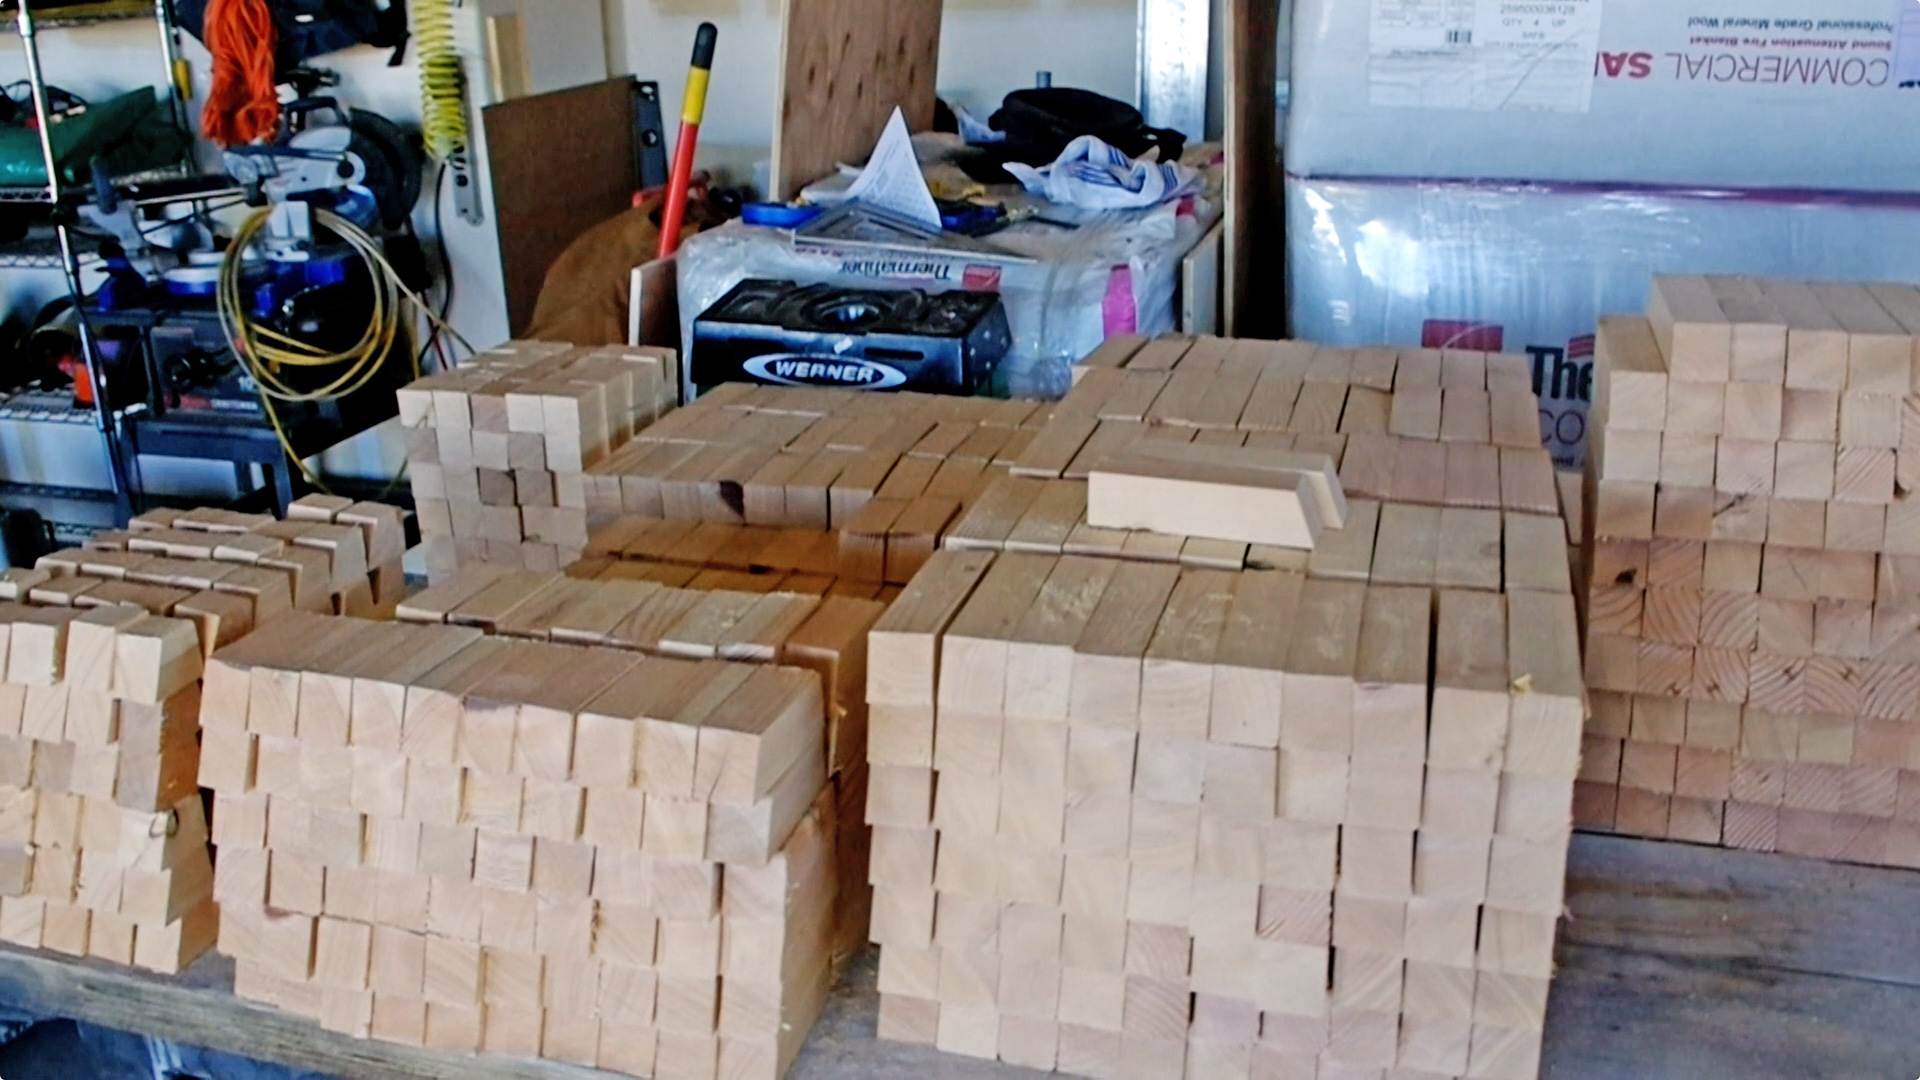
Next, it’s time to cut blocks. And boy, are there a lot of blocks. All in all, I think I cut over 2,200 blocks, twice. I added a 45 degree angle on the tips of my blocks. I read a study that showed this scattered frequencies and even created some cancelation–I also had know-it-all instagram troll ridicule me for it, saying it was completely unnecessary. Logic would tell me that instead of frequencies reflecting directly off of a flat surface, the end of your block, they would be redirected according to the angle it was cut. I noticed some of the expensive pre-made panels that you can purchase have their column ends angled. Anyway, the biggest advice I can give here is safety. This took hours and hours on the saw, you become mindless, and that’s when bad things can happen. Remain alert and conscious of what you’re doing.
Now that all of the block have been cut, you have to sand them. I didn’t sand them perfectly, but I did want to smooth out rough spots and remove splinters so that they would paint somewhat nice. Again, this takes even longer than cutting the blocks. Wear a respirator and try not to get your fingers caught.
Now it’s time to glue. Glue is the only thing holding this project together, so I recommend a high quality, strong glue. I used Titebond III. I gave a light dab on the bottom of each block, along with smearing some on the sides where it would be contacting the blocks next to it. Obviously, some blocks are taller than others and there’s no need to coat an entire side with glue if it’s only going to be contacting 1 inch of its neighbor. Also, because I cut the angle on the tip of my blocks, each block was rotated 1/4 turn from the previous block. This ensures that no two blocks, side-by-side, will have the same angle.
As the glue dries, it does tend to warp the plywood underneath. Again, i recommend clamping your panel to your work table before gluing. If not, the whole thing is going to curl up on its edges and you’ll be forced to break the glue with force in order to mount it flush. It’s not easy, there is a tremendous amount of pressure, and you feel like you’re going to ruin the whole project by trying to get it to sit flat.
I don’t know what happened to the rest of the footage, I wish I had a pic to show you how warped they can get as the glue dries. I used spray paint–it was difficult to get an even coat down in the gaps without blocks. A real spray gun would have worked much better. Overall, I probably have 4 coats. My panels are up, away from eye level where people can’t look closely and they look really good. Up close, it’s the deep wells that struggled to get a good coating.
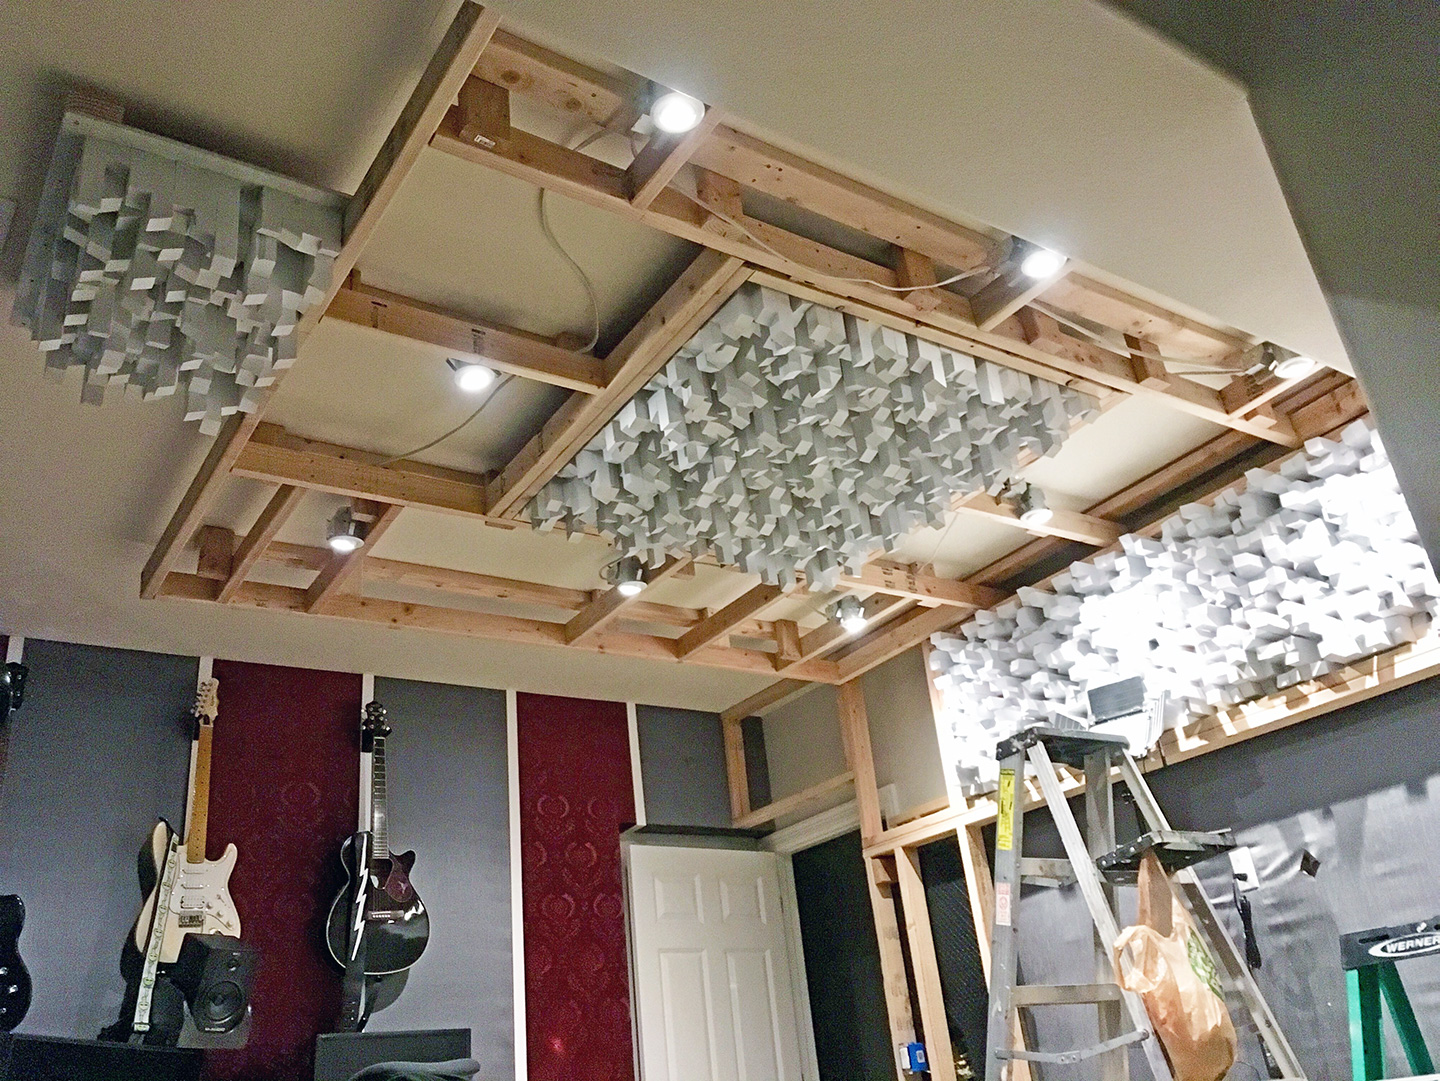
Here are the panels mounted. These things are heavy as hell! It took two of us to hold them in place, with the assistance of a 2x4 deadman, while a third person screwed. It’s important that whatever you mount these to can handle the weight–you need solid mounting surfaces with lag bolts.
All in all, I love how this project turned out. They are functional–acoustically, they make a significant difference. They are also fun to look at–kind of like a piece of art. You can stare off into space and get lost in them for quite a while.

The biggest, biggest thing I can say is that this is a time consuming project. It’s not difficult, but very tedious and there’s no way around it. It probably took me 80 hours to build these damn things–and I couldn’t do it all at once, so it cluttered my garage for weeks. If it didn’t take so long, I would build more to put around the house–in the living room and whatnot.
If you have the time, the end result is pretty impressive and worth it. Just know what you’re getting into.


