


Perfect for mounting speakers at your desk.
Using gas spring computer monitor wall mounts, these speaker cradles lined with acoustic foam hold your studio monitor or speakers and allow a full range of adjustment.
This video is not sponsored. I purchased these materials and speakers on my own and have no affiliation with the manufacturer. However, please use the Amazon affiliate links below when ordering your gear. You pay the normal low price and I receive a small commission. Here’s everything you’ll need:
- 1/2 inch plywood
- 120 Grit Sand Paper
- Color Changing Wood Filler
- Flat Black Spray Paint
- Black Plasti Dip
- Plasti DIp Metalizer
- Gas Spring Monitor Wall Mount
- 1 Inch Open-Cell Acoustic Foam or Foam By Mail
- M-Audio BX5 Carbon Black
- M-Audio BX5 D3 (updated version)
- Amazon Audio Idea List - All Of My Audio Equipment
Transcript
Here’s a quick video of how to make speaker cradled—a little contraption that holds and elevates my studio monitors. Basically they’re just boxes attached to gas spring wall mounts. The same adjustable arms you use for your computer screen.
So you’re going to start out by measuring your speakers. Length and width being the most important. You’re going to want the inner dimensions of your box to be about 1 inch larger than your actual speaker size. This will allow you to glue in the open-cell acoustic foam and still be able to fit the speaker inside. This will give it a nice tight fit and isolate the speaker from the cradle, removing any acoustic resonance or vibrations.
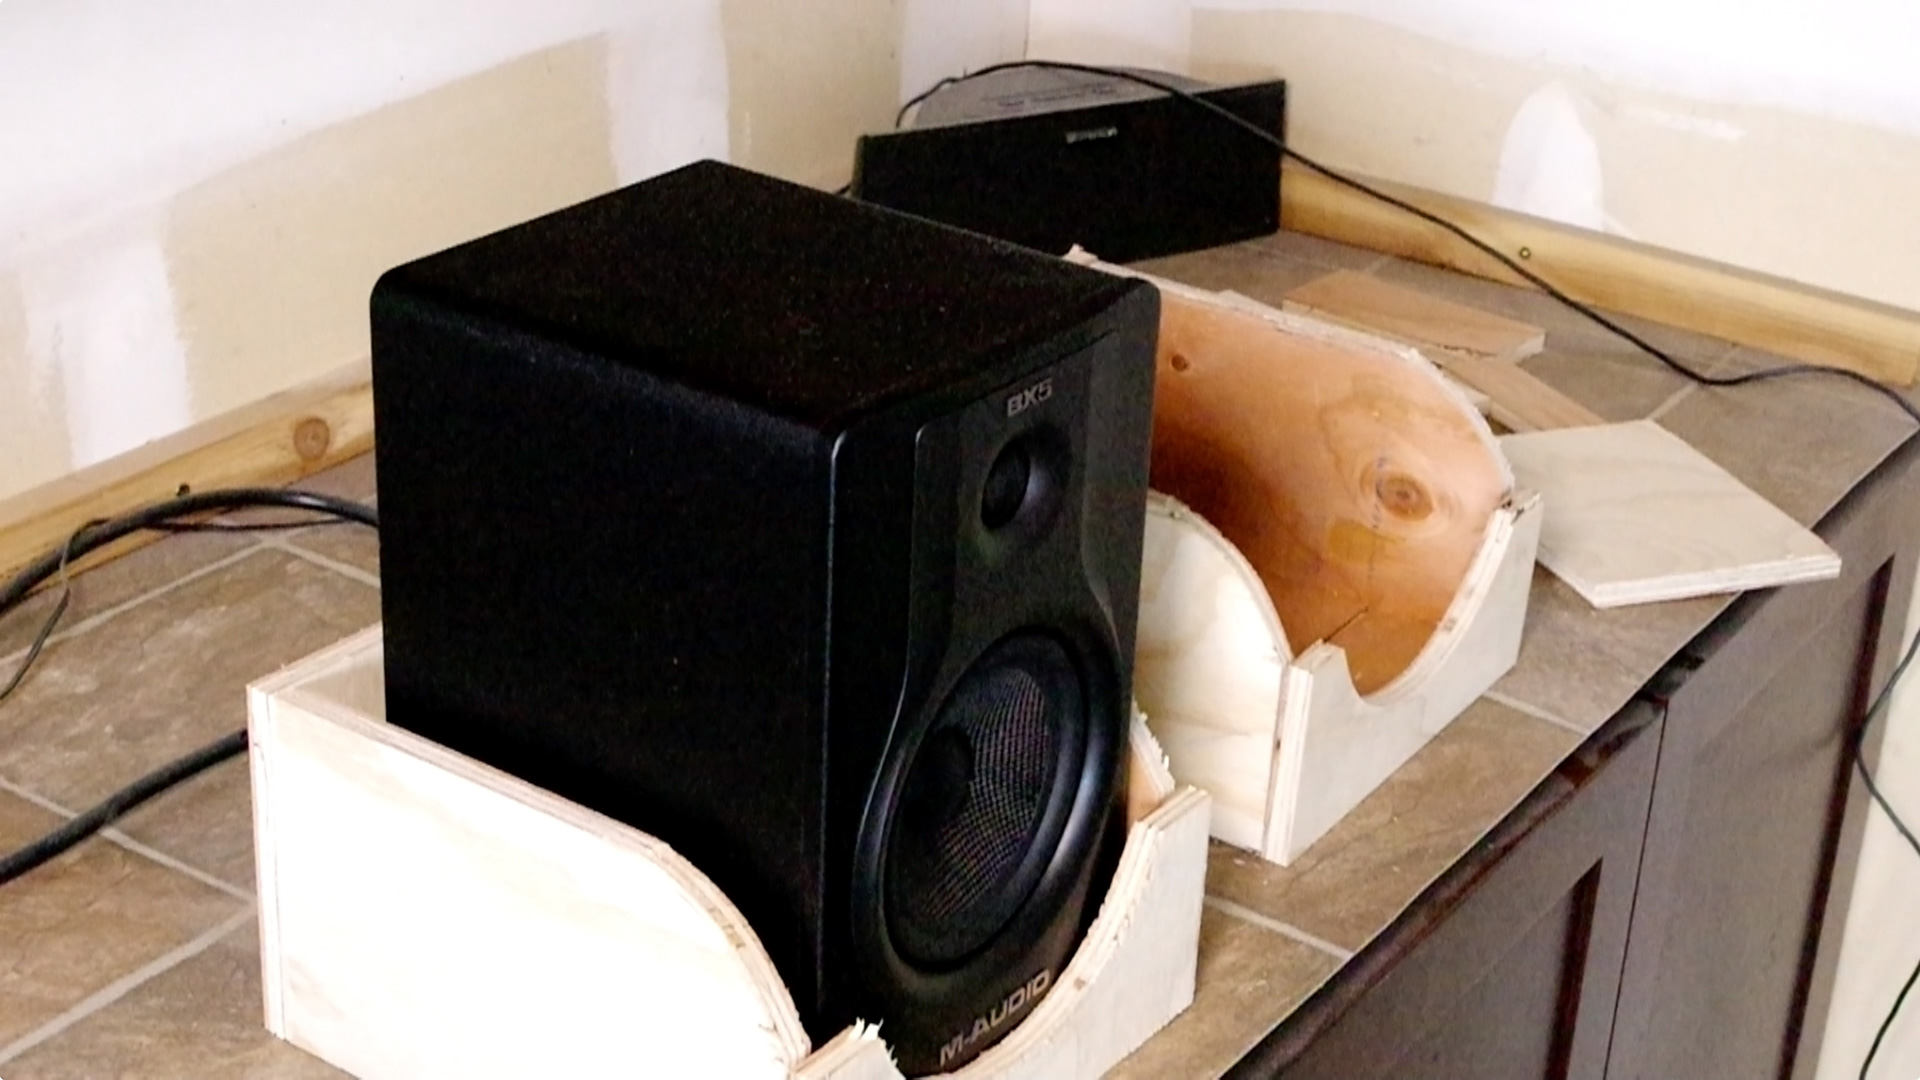
Here you can see the gaps around the speaker. About a half inch around the entire thing that will allow everything to fit in there nice and tight when it’s all done.
Now I’m measuring for the front panel of the cradle and I’m creating a semi-circle. I’m using this paint can lid as a template. I’m just creating a half-circle to help match the shape of the driver. All I’m using is a jigsaw to cut it out. So there you’ll see the half-circle matches the large driver of the studio monitor. It also helps not to block any sound or anything like that, it doesn’t obstruct the acoustic properties of the speaker.
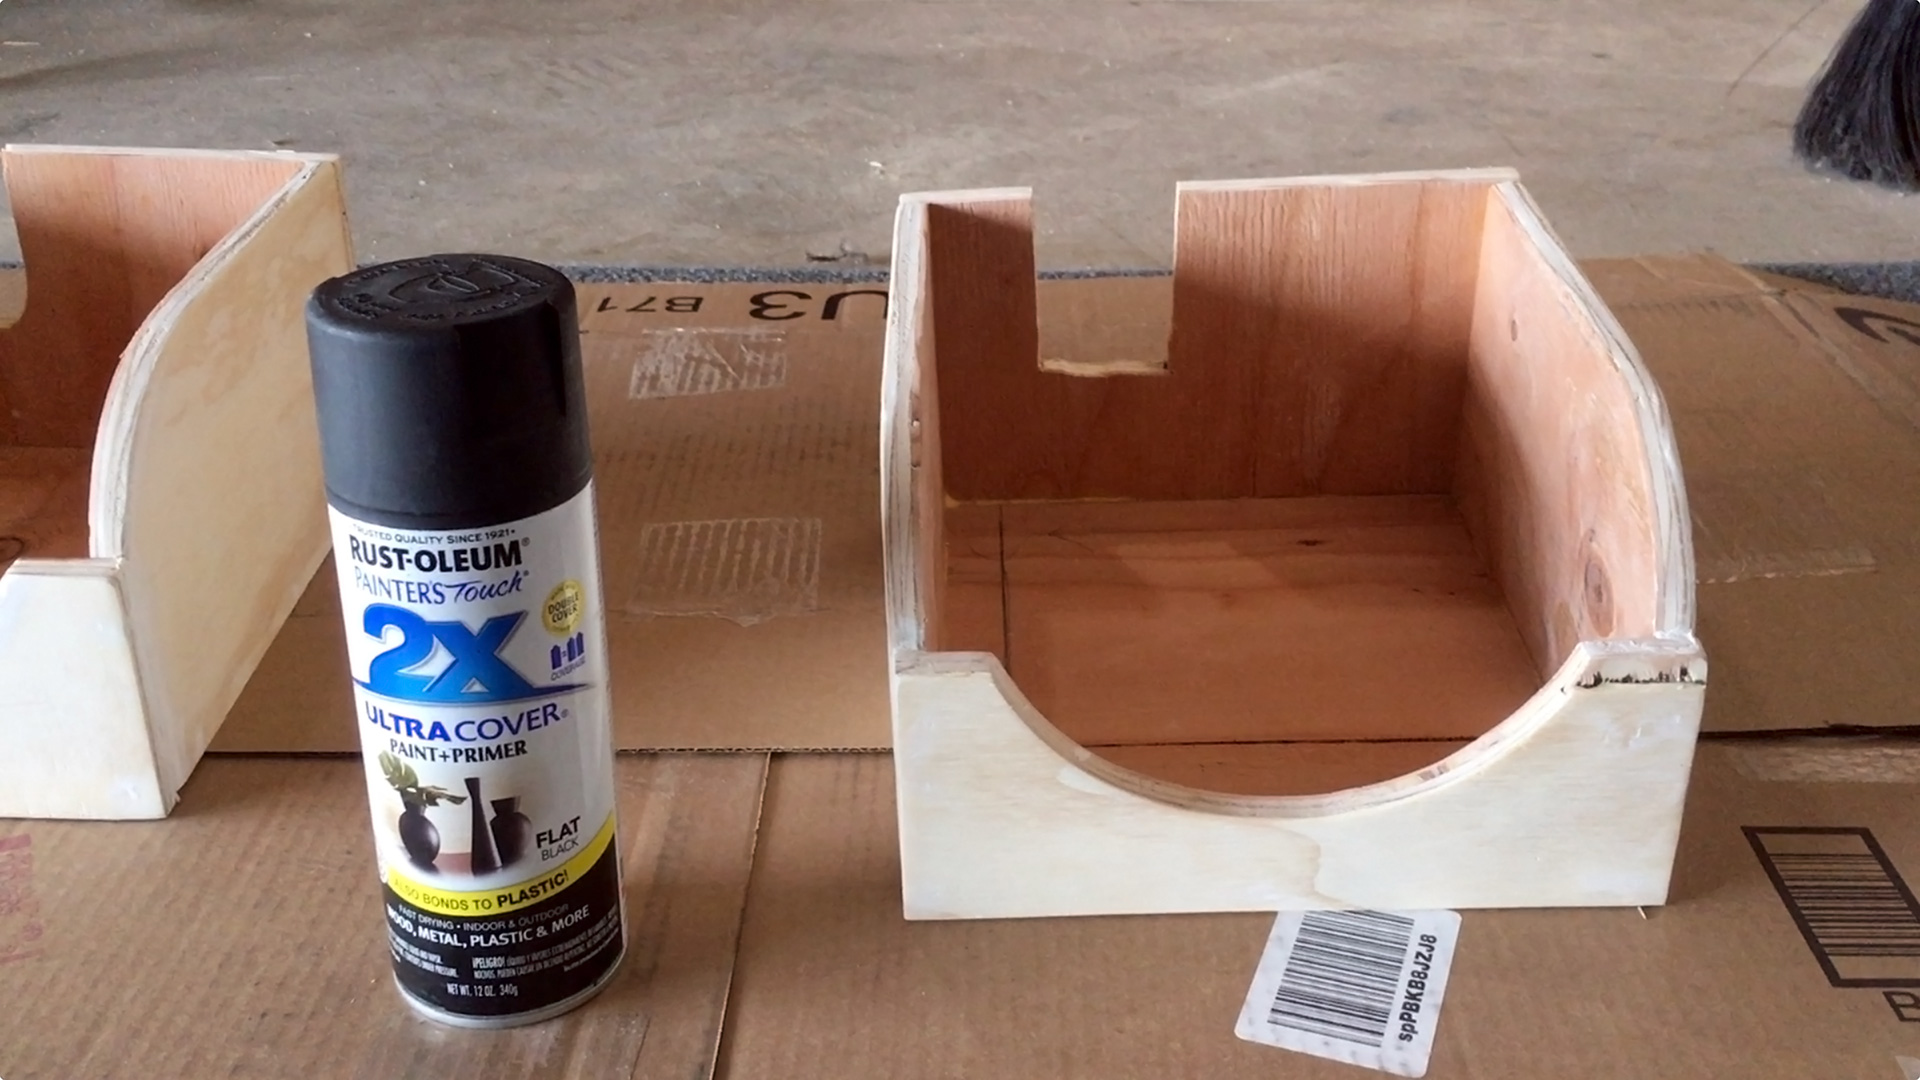
Again, now, I’m just using the paint can to add some rounded flares on the left and right sides of the panels to add a little bit of aesthetics or appealing look so it’s not just squared off edges everywhere. Again, that paint can comes in handy to make little circles. I’m just using a jigsaw to cut all of my shapes.
Now you’ll see how it all fits together. And that’s the general layout of how these things are going to work. Sand, sand, sand your edges. I’m using 120 grit sandpaper, you want to make sure that you get all of your angles as much as you can. This probably the most important and time consuming part of the project. But sanding this plywood will make your life a million times easier and make it look like a professional product in the end.
Now it’s time to glue everything and tack it all together. I run a bead of Tightbond II glue and then I’m using a nail gun to tack them together. The nail gun is basically acting as a clamp, I didn’t want to wait and clamp everything individually, so I’m using little brad nails to secure it kind of like a cabinet. The glue is doing most of the work. The nails are just holding everything in place until the glue dries. There we go, we’re adding the front little piece we made with the half circle—kind of like making a speaker box. You’ll want to accurate with your nail shots so you don’t shoot out of the side. If you do, it’s not a big deal. Just pull the nail and use some wood putty to fill it.
Going to run another pass with the sander now that it’s all put together. You want to smooth out where two pieces of wood connect. It helps blend it together so that it looks like one piece.
Now I’m going to use some wood fill and I’m going to plug my nail holes. Making a nice flush, finished look with all my nail holes so that you won’t see them at the end. This is a typical wood fill that you would use for base or trim in your house. It goes on pink so that you can see it and it dries white. It’s nothing special, you can find it at any hardware store or Home Depot. Go around and fill all of your cracks, holes, imperfections—and now you’ll see it’s a little bit raise, so go back over and hand sand the putty spots.
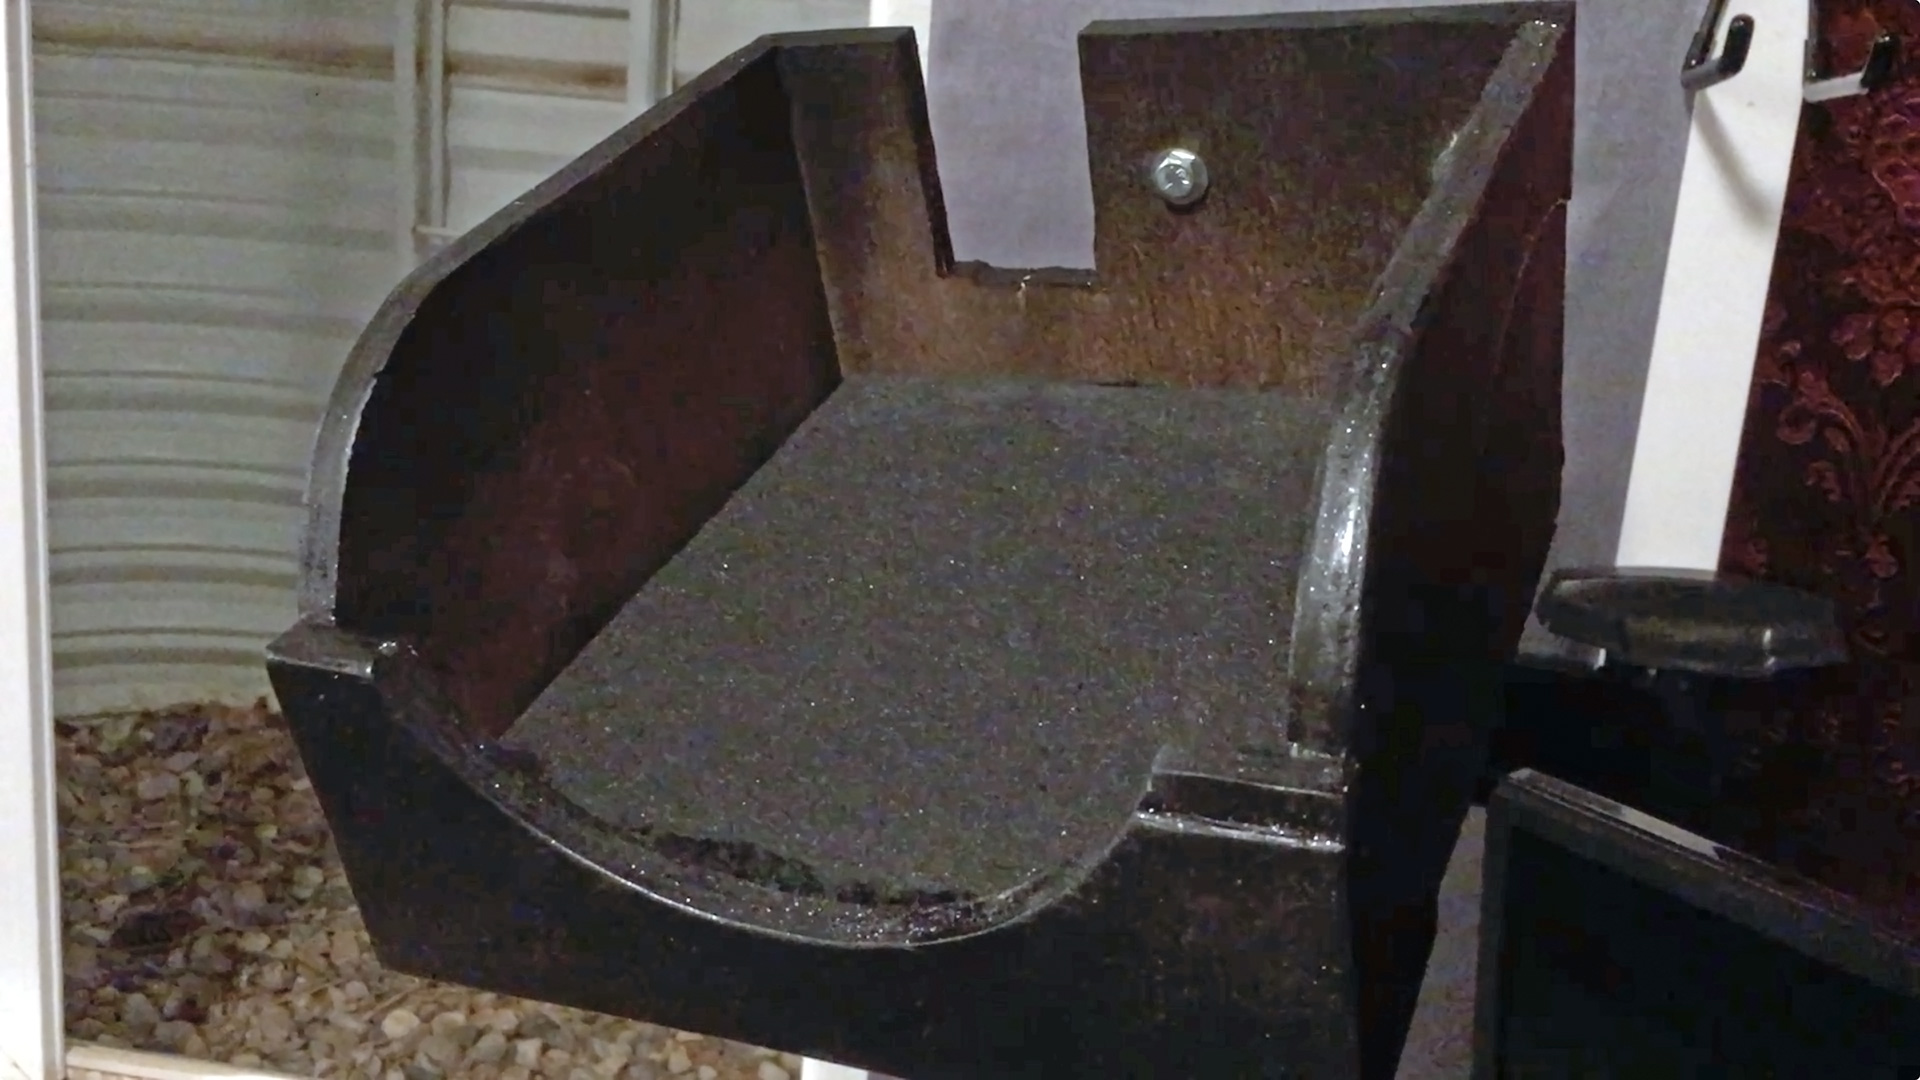
Now we’re getting ready for some paint and I’m using flat black spray paint. Now I go over it with Plasti Dip—that adds a real nice finish and fills in any bumps or holes. Then I added the Metalizer on top of it to give it a nice finished look, a little bit of a subtle sparkle. It’s not overt, just a little a little bit of contrast so that it’s not flat black.
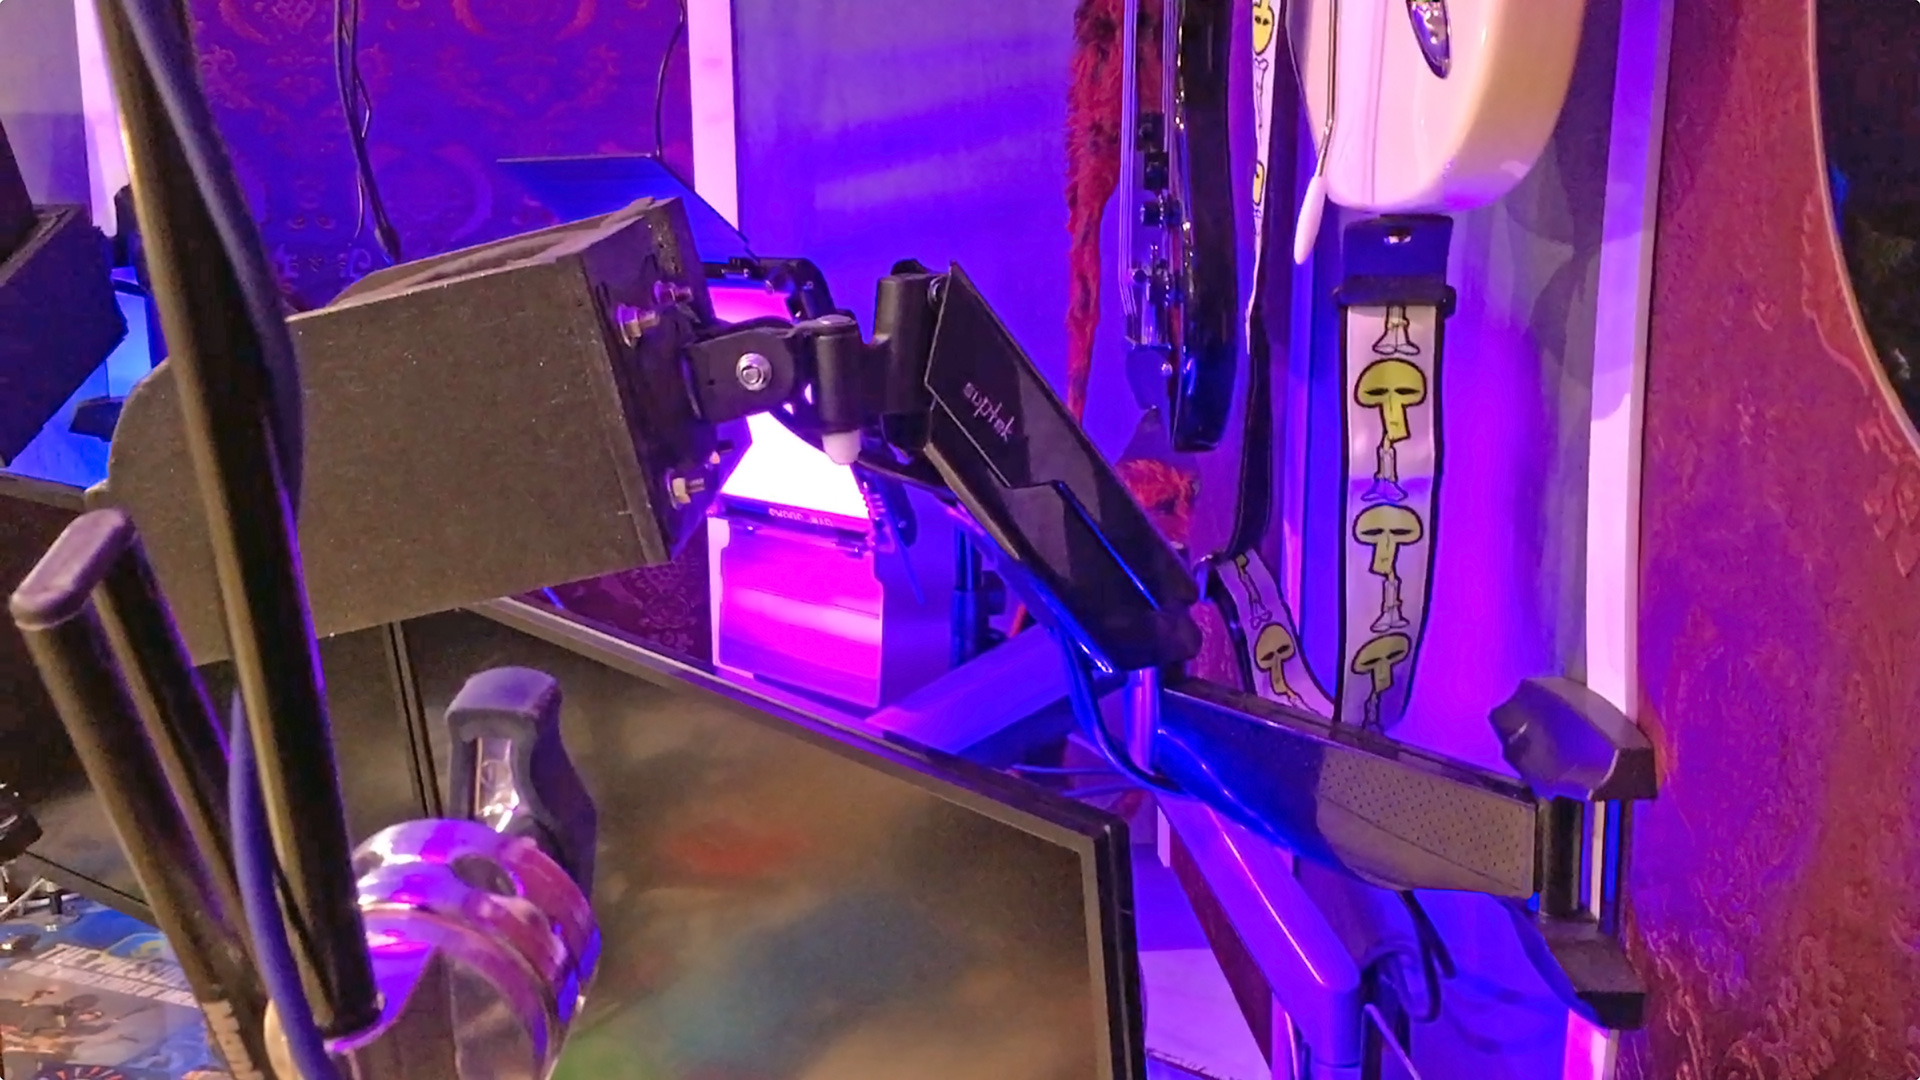
Here’s the actual wall mounts. You’ll recognize these, these mounts are exactly what you would use for your computer monitors. I just drilled holes through my cradle and bolted them right onto the computer monitor arms. Not hard at all, literally drill through and bolt it.
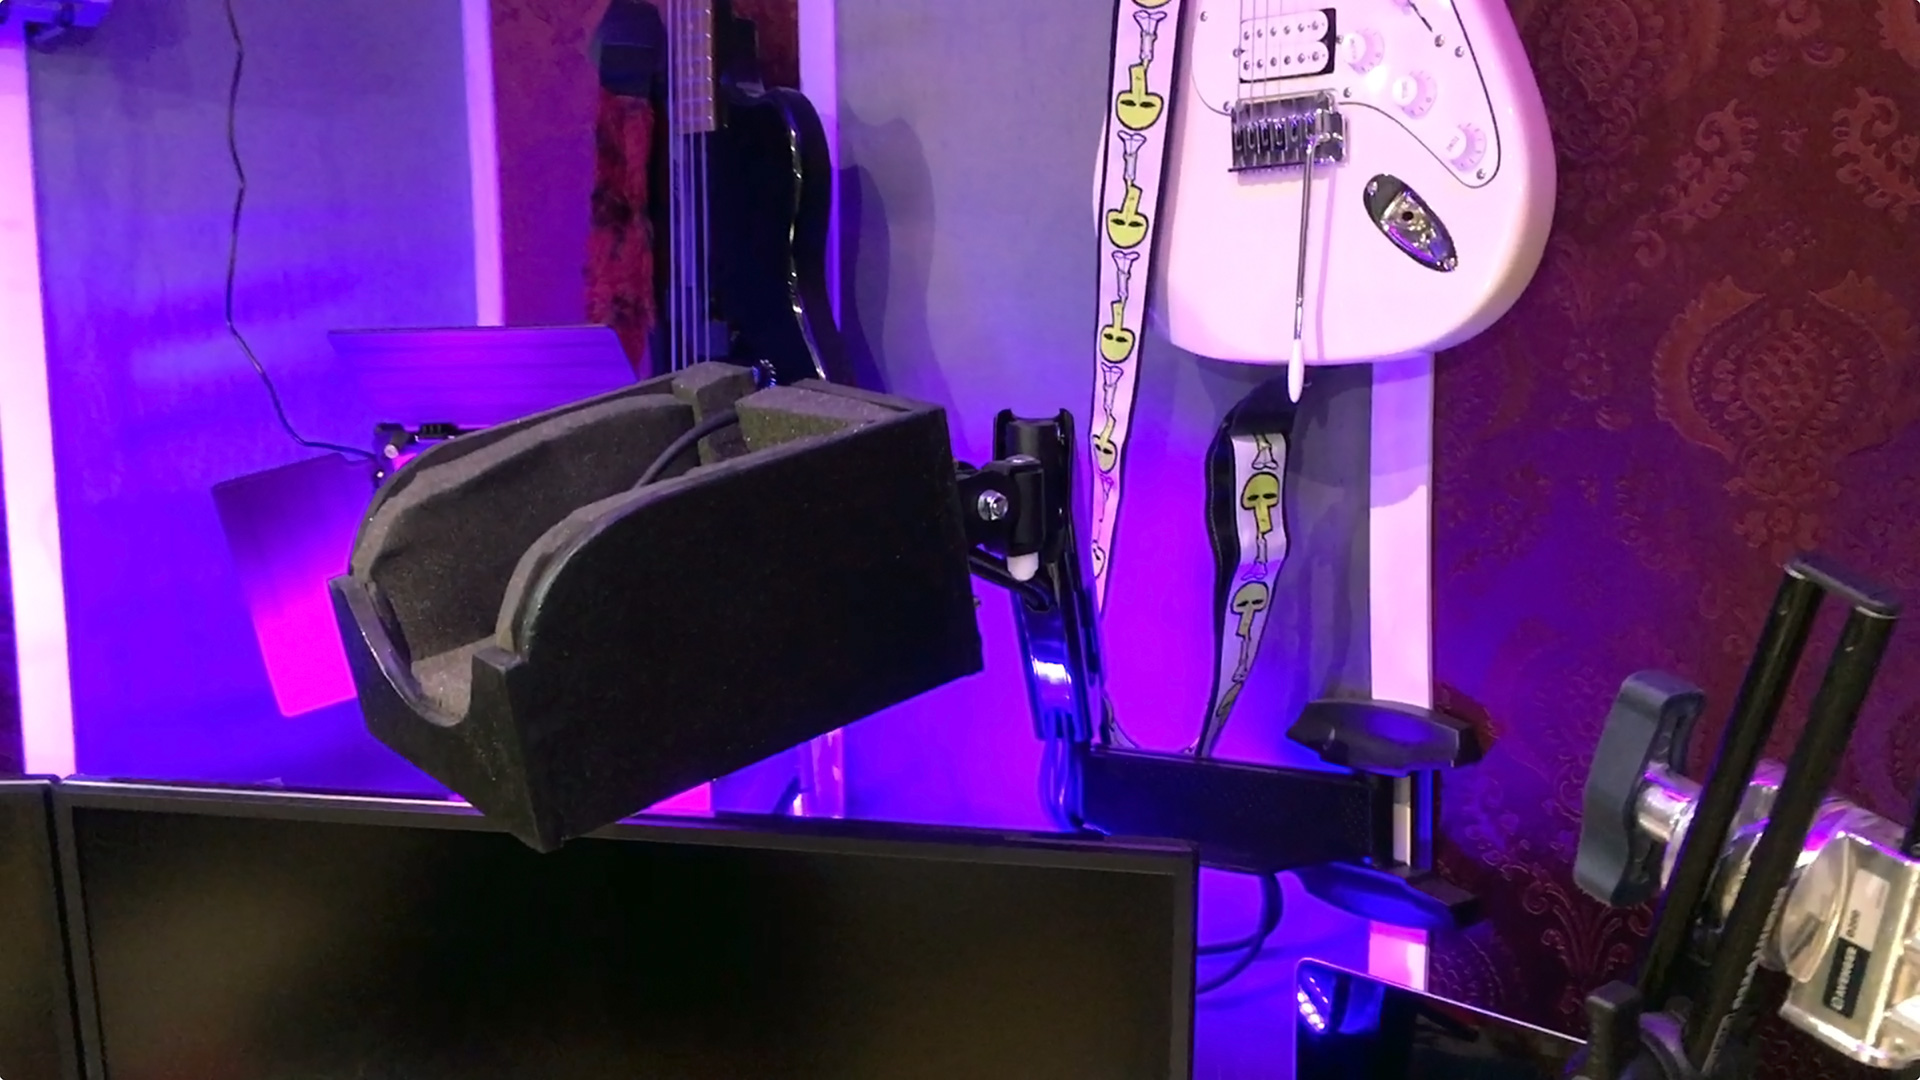
This is adding the foam. I’m using 1 inch open-cell acoustic foam—typically what you use in studios. The speaker will fit directly down inside, and the hole in the back is to run the cabling—to run your power and audio cables. It’s a really tight fit with the speaker, you really have to force and push the speaker into place. I thought that I was going to need some straps to go up and over the speaker, but mine were so tight I didn’t need them and I’m not worried about them falling out.
The biggest thing you have to worry about these computer monitor arms is getting your weight correct. Speakers tend to be a lot heavier than computer screens, so you want to make sure that the gas spring arm can actually support the weight of the speaker. Make sure you check the weight rating before you actually buy any of these arms—I’ll include a link to the mounts I bought off of Amazon in the description. That’s the biggest concern—you’ll want to make sure the arm can support the weight of speaker—I think my speakers weigh 15 pounds and the arm mount is rated for 20 pounds.
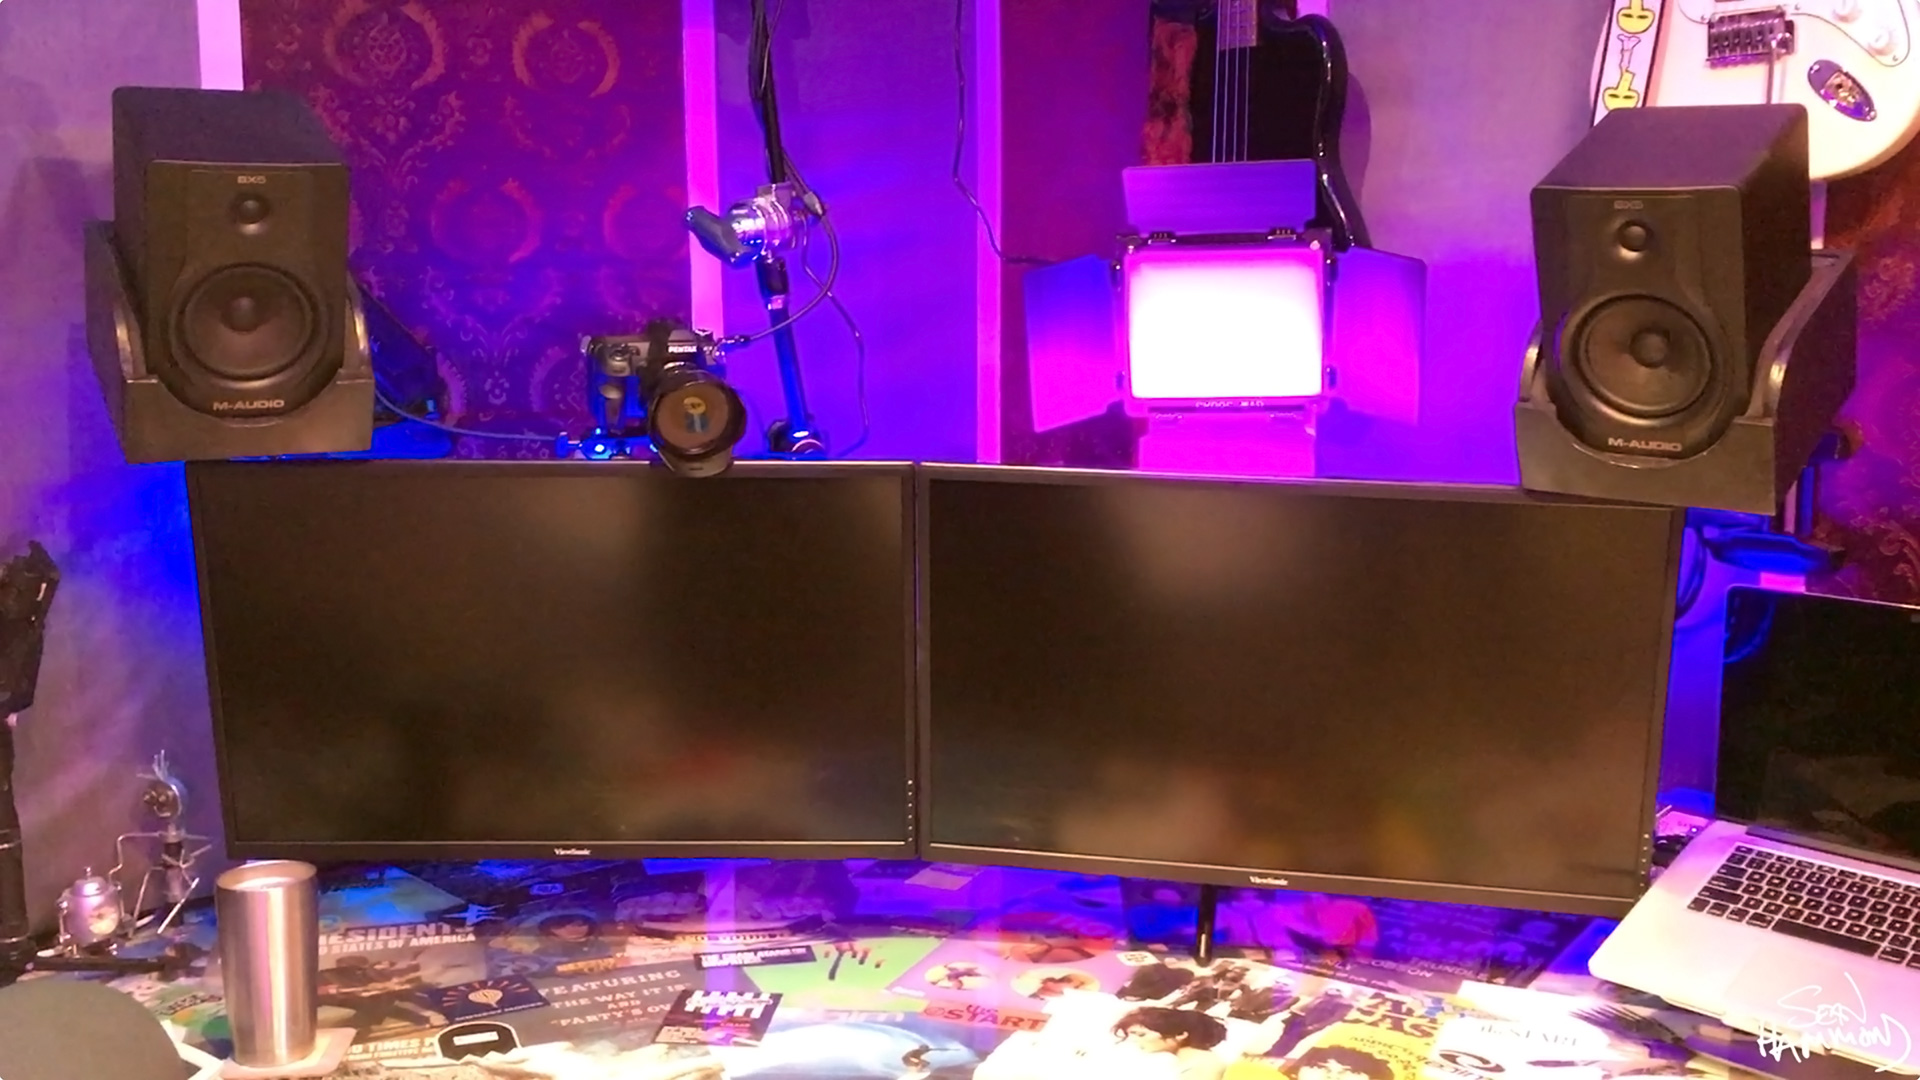
Just like a computer screen, these speakers can now move up, down, in, out, all around—you can position these speakers any way you’d like.

These things have worked great. They’ve been mounted on my wall for several months and neither of them have sagged. I haven’t had to go back through and tighten them up. There’s no droop or constant adjustments, I just tighten everything up tightly at the beginning and they’ve stayed in place once I got them where I wanted them.
That’s it—that’s how you make studio monitor or speaker cradle mounts. I hope you liked this video—pretty easy job, especially if you have the tools. All you’ll need is a table saw or circular saw, a jigsaw to make your fine cuts, sand them down and paint them up—not too tough.


